How to create a Pie Timer (Circular Timer) in Phaser
Welcome back everyone! A pie timer, circle timer, or wheel timer is quite popular in game development. Some may find it difficult to make, but it is not actually. In this tutorial, I’ll guide you through the process of implementing a pie timer using Phaser 3 and TypeScript. You can extend it later according to your purpose.
create a class named PieTimer and extend it from Phaser.GameObjects.Graphics class.
export default class PieTimer extends Phaser.GameObjects.Graphics {
    constructor(){ }
}
now we will add some properties in our class so we can config it as our need.
export default class PieTimer extends Phaser.GameObjects.Graphics {
    declare x: number; // x position
    declare y: number; // y position
    declare alpha: number; // alpha
    declare scene: Scene; // scene object
    radius: number; // radius
    borderThickness: number; // border thickness
    bgColor: number; // background color
    borderColor: number; // border color
    indicatorColor: number; // forground color
    indicatorBorderColor: number; // forground border color
    lifeSpan: number; // total duration till finish
    targetValue: number; // end - now
    currentValue: number; // current value
    text: GameObjects.Text; // coutner text object
}

constructor(scene: Scene, config) {
        super(scene);
        const { x, y, alpha, radius } = config;
        this.x = x;
        this.y = y;
        this.radius = radius;
        this.alpha = alpha;
        this.depth = 100;
        // add the gameobject to the scene
        this.scene.add.existing(this);
    }
all good so far, now we will create a couple of functions
init() : used for initializing our class

draw(): used for rendering the pie timer

startTick() : animating the timer
here is the complete PieTimer class
import { Display, GameObjects, Scene } from "phaser";

export default class PieTimer extends Phaser.GameObjects.Graphics {
    declare x: number; // x position
    declare y: number; // y position
    declare alpha: number; // alpha
    declare scene: Scene; // scene object
    radius: number; // radius
    borderThickness: number; // border thickness
    bgColor: number; // background color
    borderColor: number; // border color
    indicatorColor: number; // forground color
    indicatorBorderColor: number; // forground border color
    lifeSpan: number; // total duration till finish
    targetValue: number; // end - now
    currentValue: number; // current value
    text: GameObjects.Text; // coutner text object

    constructor(scene: Scene, config) {
        super(scene);
        const { x, y, alpha, radius } = config;
        this.x = x;
        this.y = y;
        this.radius = radius;
        this.alpha = alpha;
        this.depth = 100;
        // init
        this.init();

        // add the gameobject to the scene
        this.scene.add.existing(this);

        this.draw();
    }

    init() {
        this.borderThickness = 10;
        this.bgColor = 0xEE4266;
        this.borderColor = 0xFF8911;
        this.indicatorColor = 0x2C7865;
        this.indicatorBorderColor = 0x90D26D;
        this.lifeSpan = 10 * 1000; // ms
        this.targetValue = 10000;

        // counter text
        this.text = this.scene.add.text(this.x, this.y+120, '0', {fontSize: 40}).setOrigin(0.5).setDepth(this.depth);
    }

    draw(tween?: Phaser.Tweens.Tween) {
        this.clear()
            .fillStyle(this.bgColor, this.alpha)
            .fillCircle(0, 0, this.radius)
            .lineStyle(this.borderThickness, this.borderColor)
            .strokeCircle(0, 0, this.radius)
            .fillStyle(this.indicatorColor, 1)
            .beginPath();

        // current pie value
        this.currentValue = (360 / this.lifeSpan) * this.targetValue;

        this.slice(
            0,
            0,
            this.radius,
            Phaser.Math.DegToRad(0),
            tween ? Phaser.Math.DegToRad(-this.currentValue + tween.getValue()) : Phaser.Math.DegToRad(-this.currentValue),
            true,
        )
            .setAngle(-90)
            .fillPath()
            .lineStyle(this.borderThickness, this.indicatorBorderColor)
            .strokePath()
            .closePath();
    }

    getCurrentValue(): number {
        return this.currentValue;
    }

    startTick() {
        const pieTween = this.scene.tweens.addCounter({
            from: 0,
            to: this.currentValue, // modify here
            duration: this.targetValue, // milliseconds
            onUpdate: (tween: Phaser.Tweens.Tween) => {
                const value = Math.round((this.lifeSpan - tween.totalElapsed) / 1000);
                this.text.setText(value.toString());
                this.draw(tween);
                // console.log('graphics', tween.progress);
            },
            onComplete: () => {
                console.log('timer completed clear graphics');
                pieTween.stop();
            },
        });
    }
}
now inside your create function call the pie timer class like this way
const config = {x: this.camera.centerX, y: this.camera.centerY, alpha: 1, radius: 80};
const indicator = new PieTimer(this, config);
indicator.startTick();
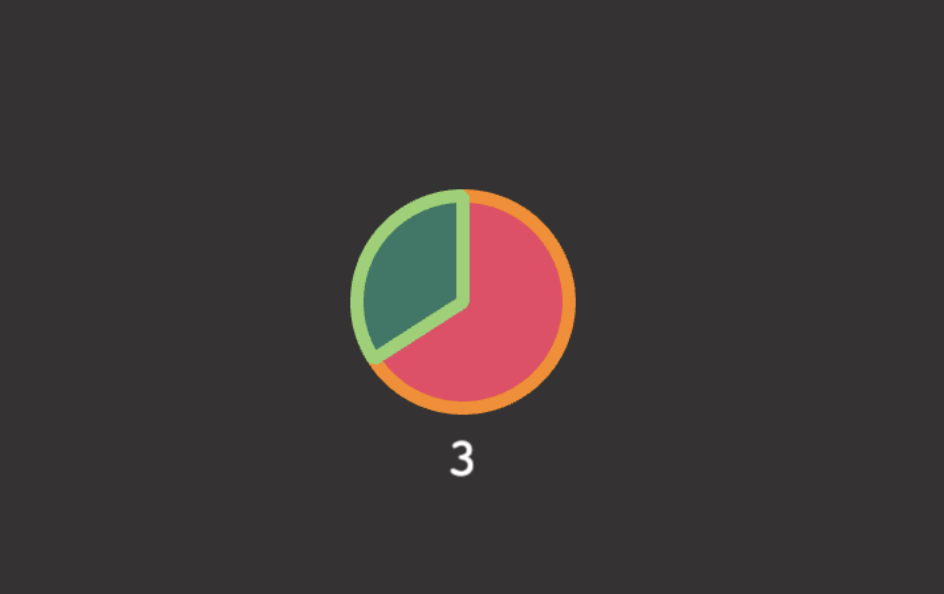
you should see a pie timer at you desired coordinate.